*Important! From March 1, 2022, in order to use NTU SSL VPN service, NTU faculty, staff, and students have to enable VPN service for their account.. Please refer to the following steps:
- Go to http://changepassword.cc.ntu.edu.tw, login, then choose from Service List 4.
- You’ll need to enter the rightmost 4 digits of the numbers on the lower right corner of the back of your NTU ID card.
- If there's trouble following the steps, please call or visit Computing Center Helpdesk (tel: 33665022~3)
- After successfully activate your VPN privilege, you can continue VPN connection as usual.
- The VPN validity period is one year. One month before its expiration, there’ll be email notification to remind you. Your VPN validity can be extended right away online, or you can re-activate afterwards.
Pulse Secure Client for Windows Installation Instructions
- Download the appropriate installation software according to your Windows version :64-bit or ARM 64-bit
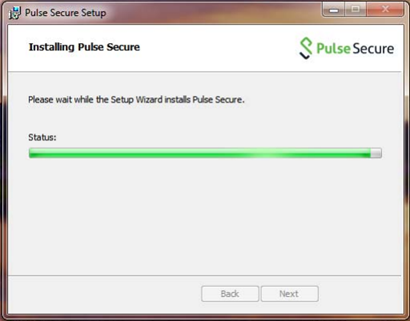
- Start the Pulse Secure for Windows installation
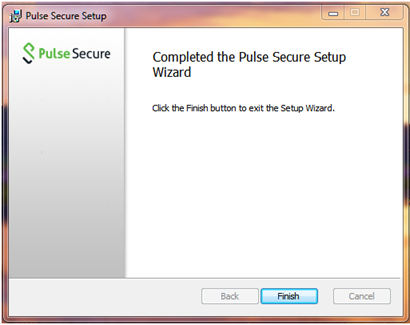
- The setup Wizard should complete successfully and you should see the following:
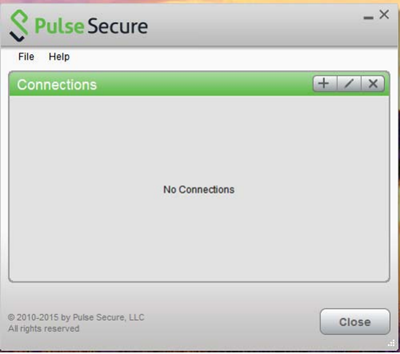
- When open Pulse Secure Client for the first time, it will display the following screen. The screen shows that you have no connections defined. Create a new connection by clicking on the “+” icon on the upper right corner:
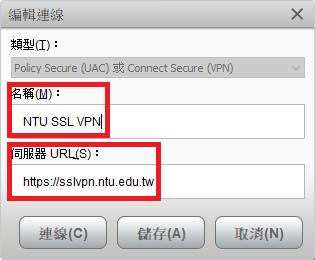
- After you click on the “+” icon you should get the ADD Connections Box pop up screen. Fill in the following information. The “Name:” field box can be anything you named it , such as “NTU VPN”. The Server URL: field box must be “https://sslvpn.ntu.edu.tw”. Then Click on the “Add(A)” button.
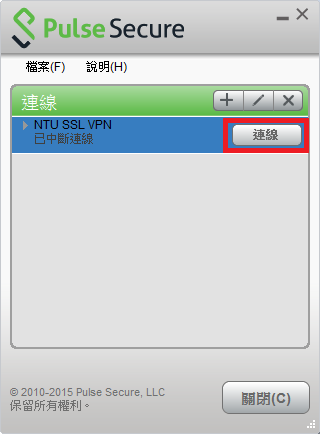
- Now Connect to the NTU SSL VPN connection that you just created by clicking on the “Connect” button:
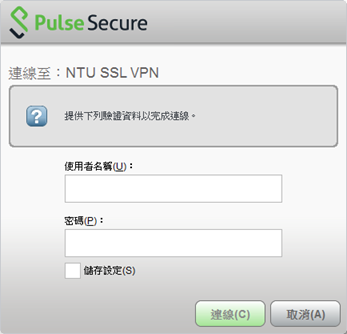
- You should select the Realm “NTU Email Account”, then Click the Connect(C) button
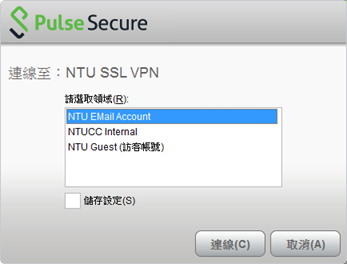
Then enter your NTU CC Account (without @ntu.edu.tw) and Password. Then click Connect(C).
- If your system is Ok and in compliance for access you will be connected to the NTU SSL VPN. You should see the following Screen.
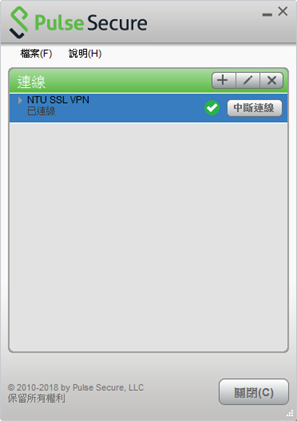
- Disconnect from NTU SSL VPN by clicking on the “Disconnect” Button
Pulse Secure Client for Ubuntu/CentOS Installation Instructions
- Download Pulse Secure Client software according to your Ubuntu/CentOS version.
- CentOS: Pulse Linux for CentOS
- Ubuntu: Pulse Secure for Ubuntu/Debian
- Red Hat: Pulse Secure for Red Hat Enterprise Linux 7
- Install Pulse Linux client(with root privileges)
sudo dpkg --install ps-pulse-linux-22.7r3-b30227-64bit-installer.deb
- You may need to install necessary packages:
/usr/local/pulse/PulseClient_x86_64.sh install_dependency_packages
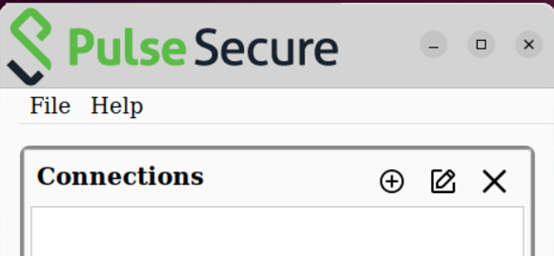
- Launch Pulse Secure Client by execute command /usr/local/pulse/pulseUi.
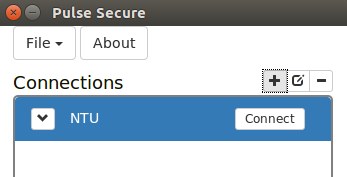
- Add new connection configuration by press + at the upper right corner.
- Enter Name and URL (https://sslvpn.ntu.edu.tw) as following figure shows, then press Save.
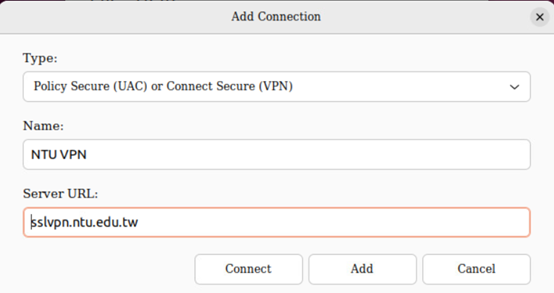
Press Connect to establish VPN connection.
- The “Realm” field should be “NTU Email Account”.

Enter User and Password to Login.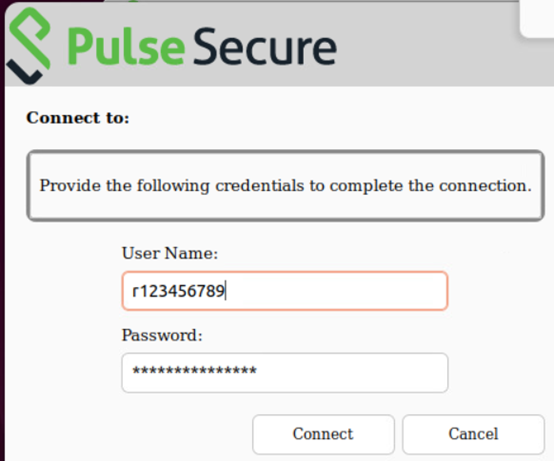
- If your system is Ok and in compliance for access you will be connected to the NTU SSL VPN. You should see the following Screen.
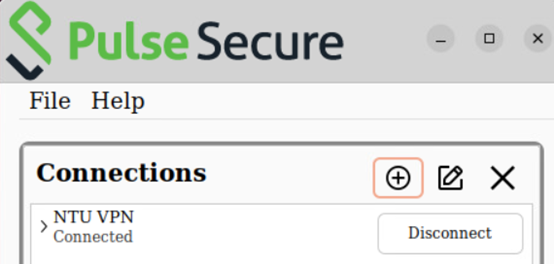
- Disconnect from NTU SSL VPN by clicking on the “Disconnect” Button.
Ivanti Secure Access Client for MacOS Installation Instructions
- Download Pulse Secure Client for MacOS.
- Click downloaded Ivanti Secure Access program to start installation.
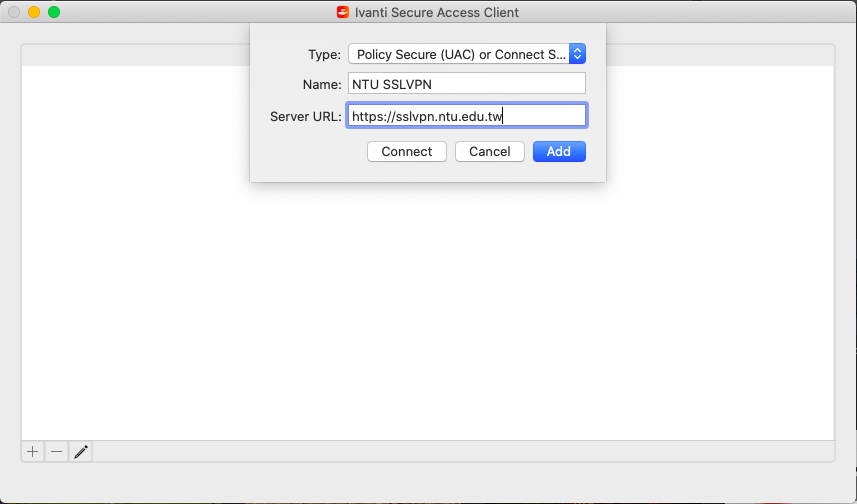
- After installation completed, click Ivanti Icon to launch SSL VPN client. Click on “+” to setup new SSL VPN session.

- Enter SSL VPN setting as following:
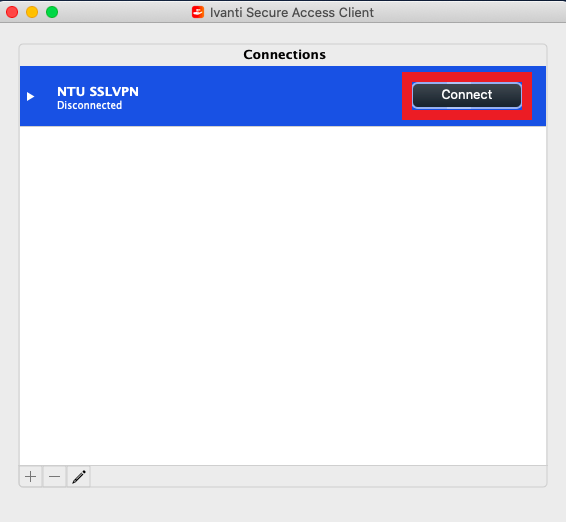
- After complete SSL VPN setting, click “Connect” to establish VPN session.
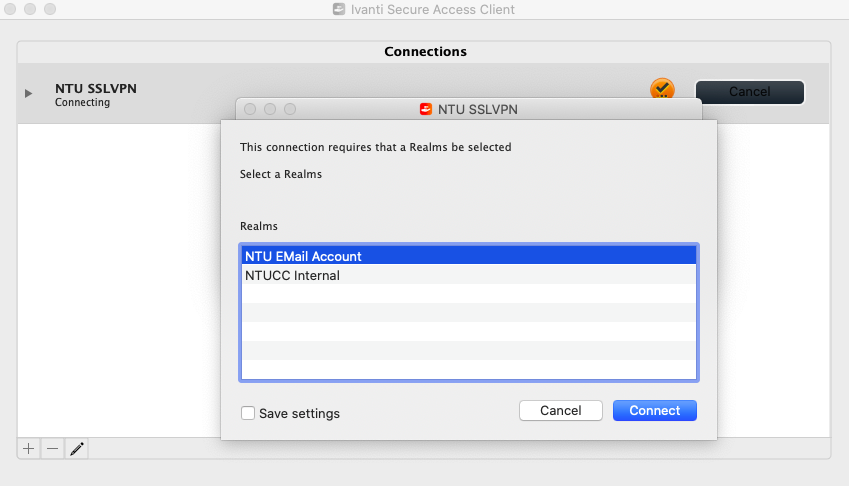
- Select User Realm: NTU Email Account.
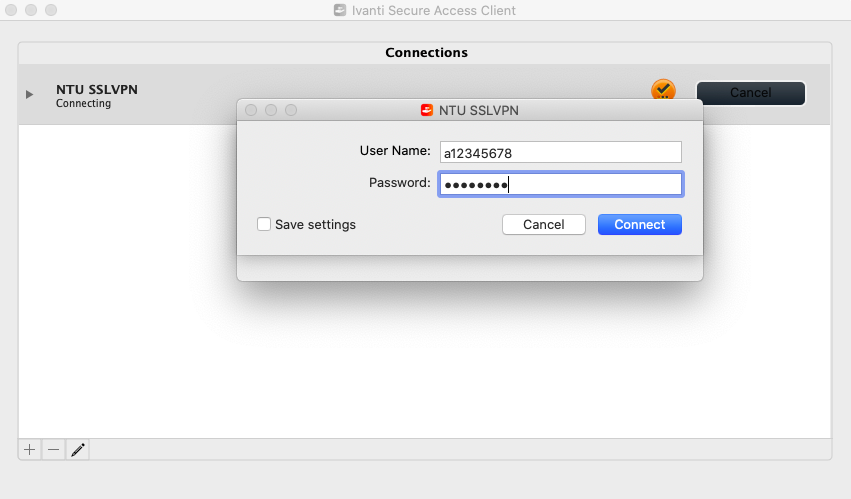
Enter your NTU CC account (without @ntu.edu.tw) and password.
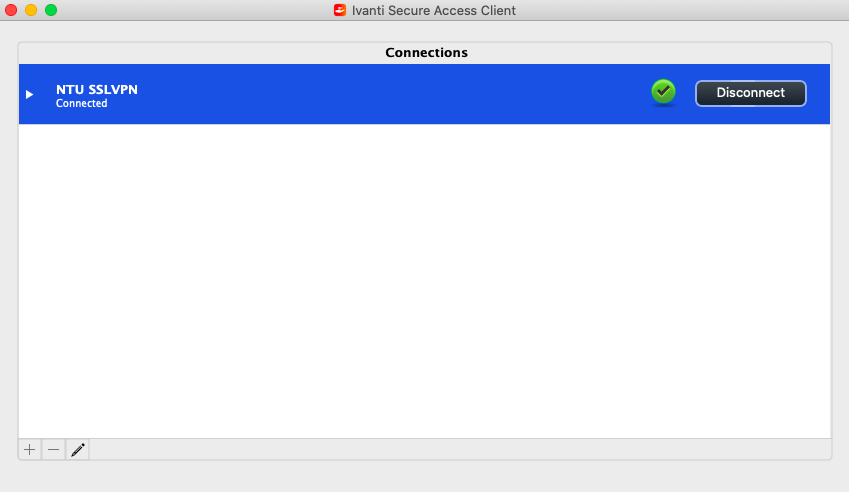
- If your system is Ok and in compliance for access you will be connected to the NTU SSL VPN. You should see the following Screen.
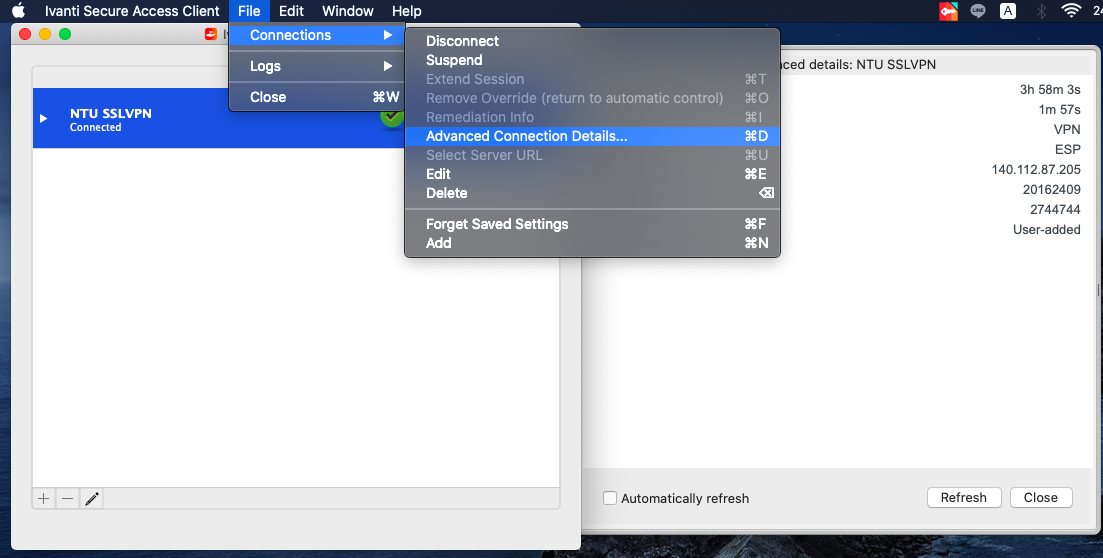
You can check connection details by click File > Connections > Advanced Connection Details…
- Disconnect from the NTU SSL VPN by clicking on the “Disconnect” Button.
Pulse Secure Client for iOS/Android Installation Instructions
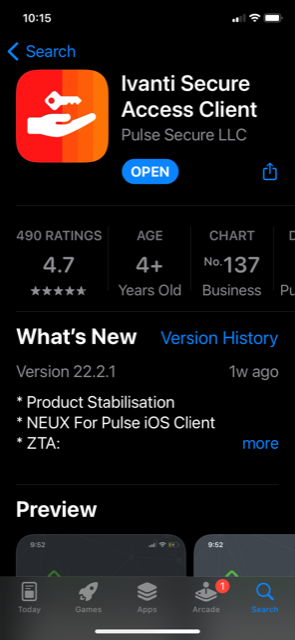
- Download “Ivanti Secure Access Client” from Apple App Store or Google Play :
- click
 to launch Pulse Secure
【iPhone】 【iPad】 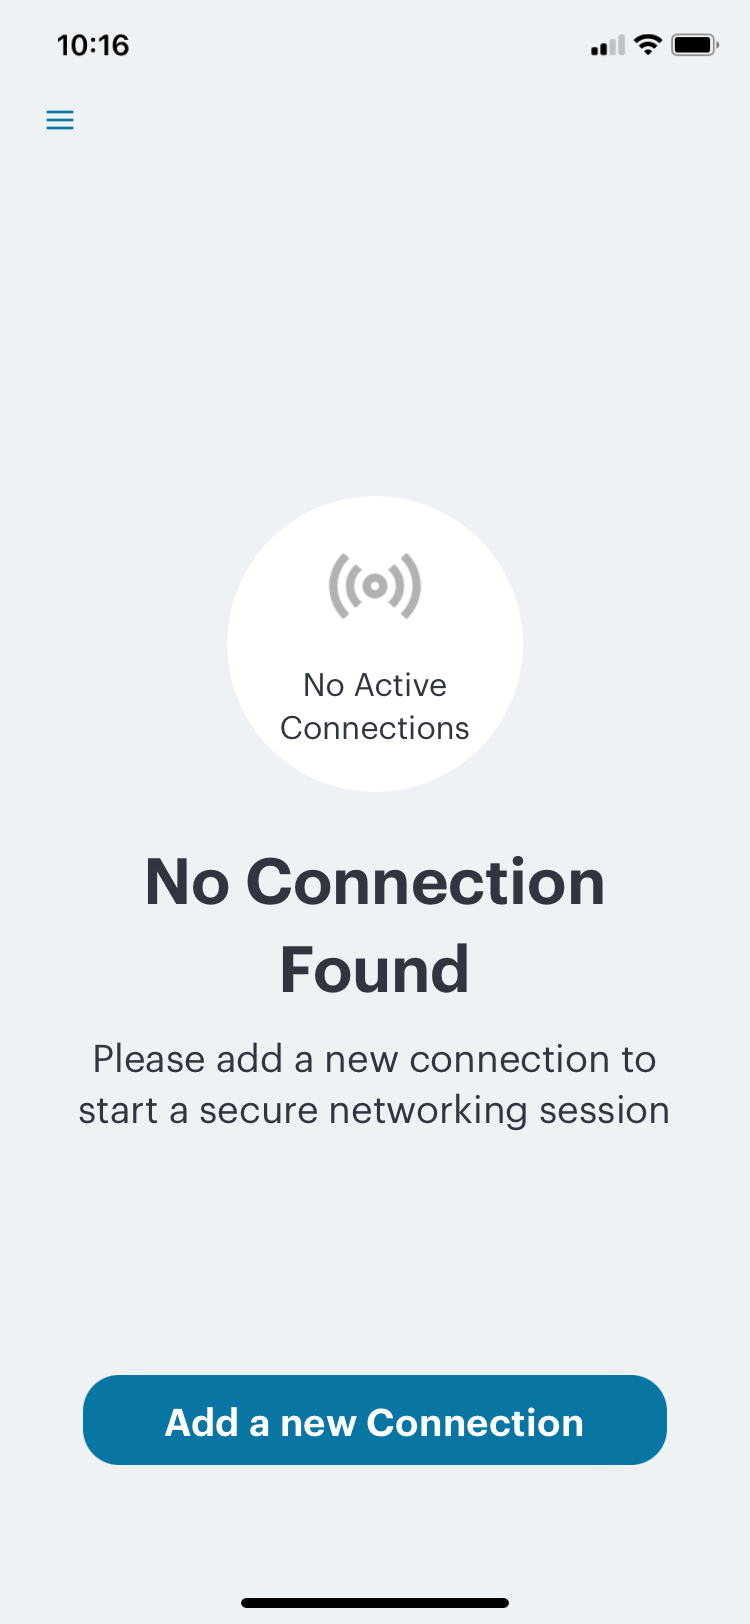
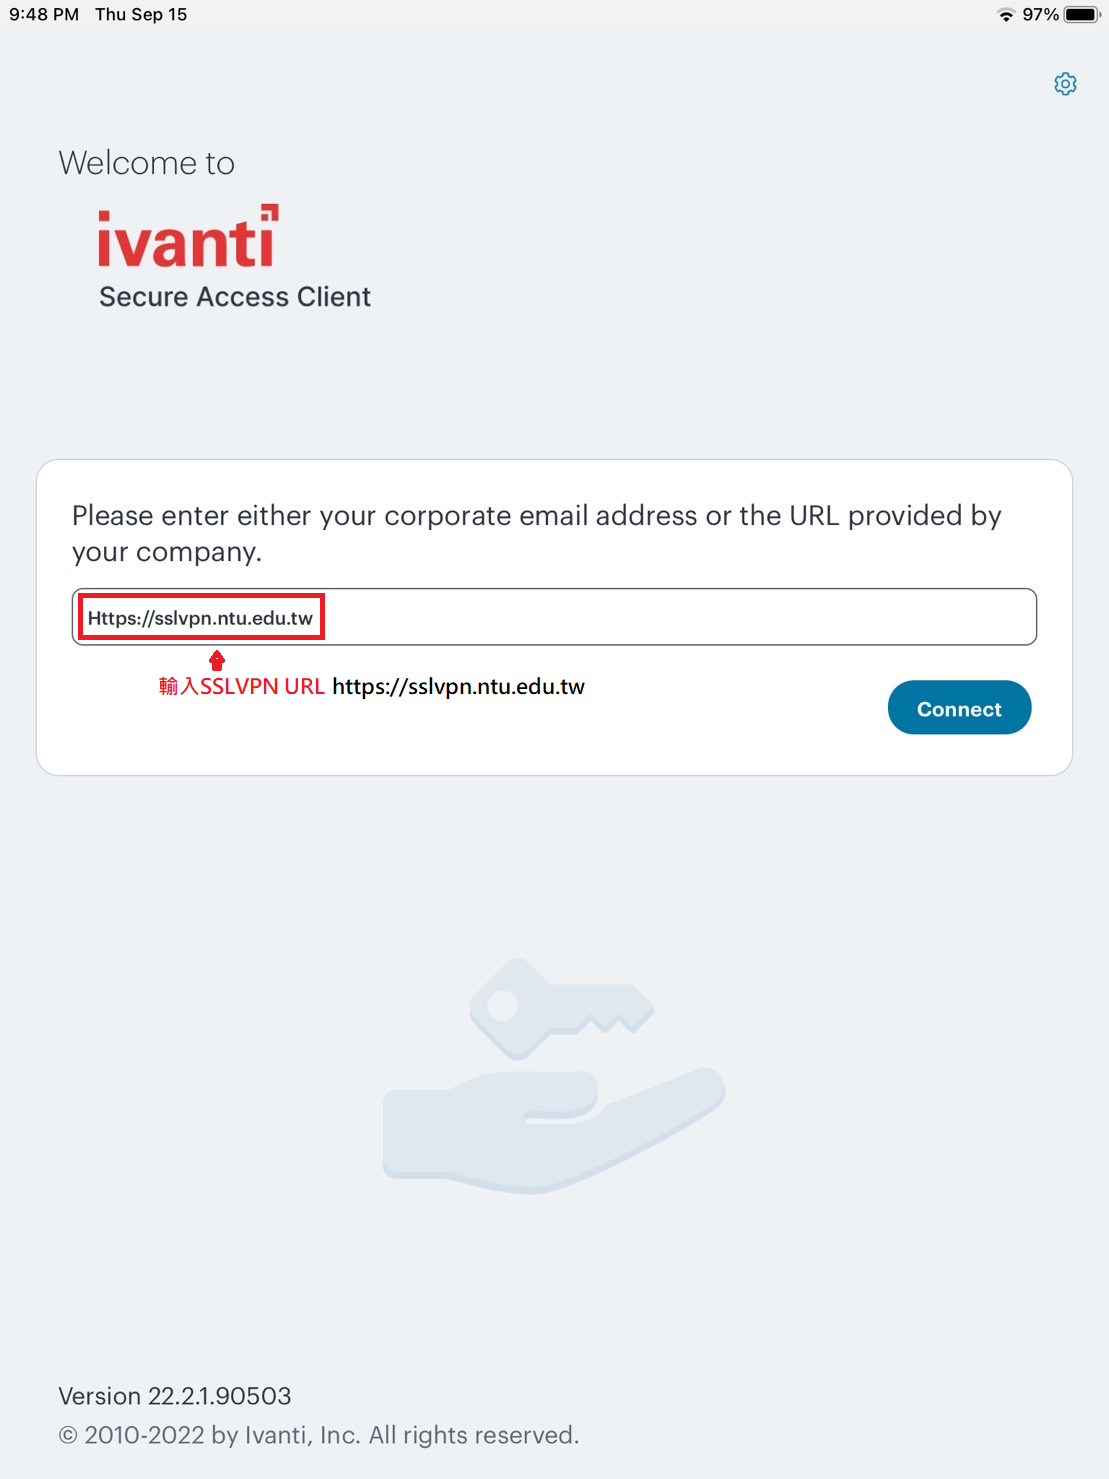
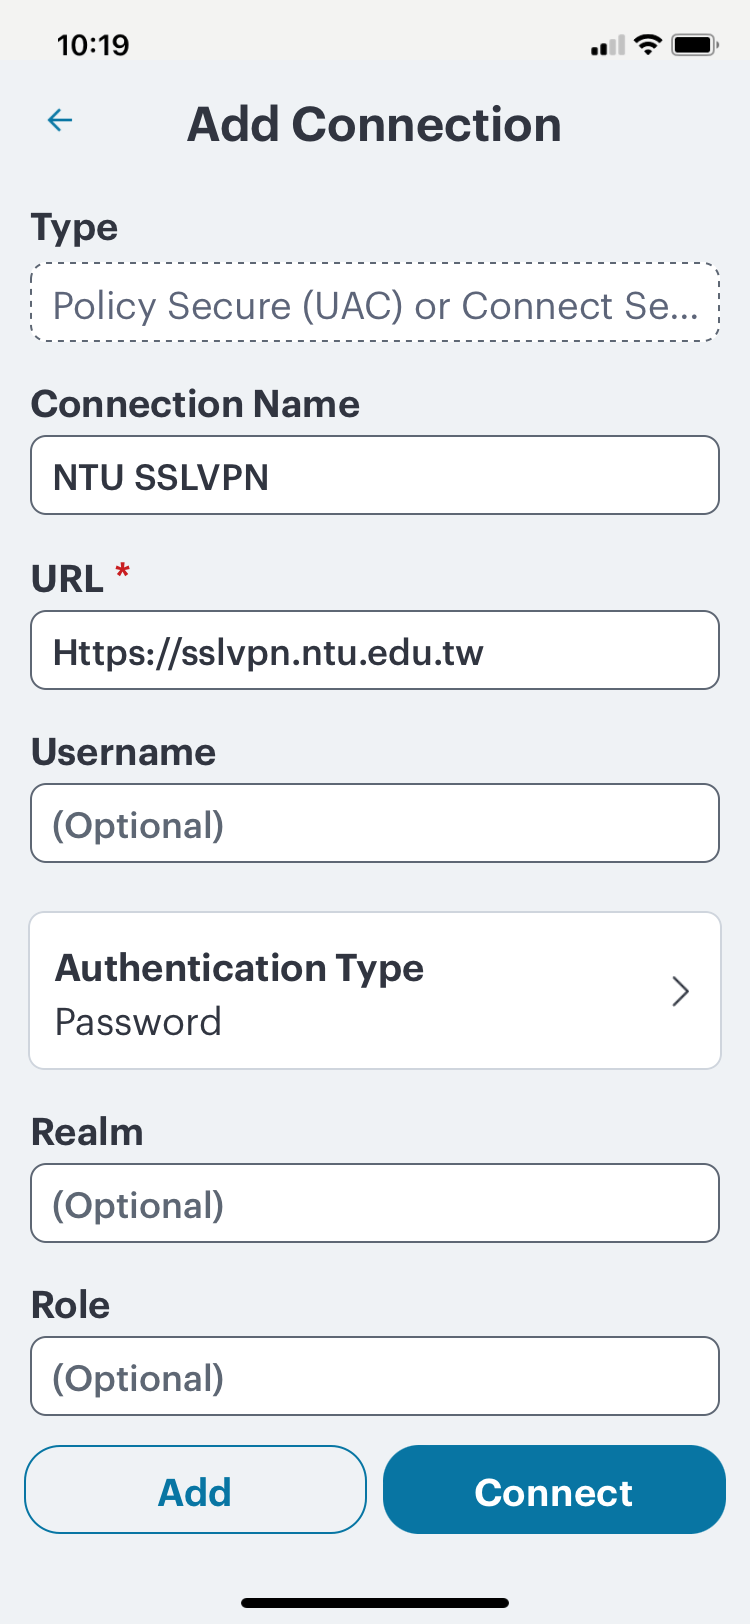
Enter "https://sslvpn.ntu.edu.tw”, then click “Connect”. - On “Add a Connection” screen,enter “Connection Name” and Username(your NTU CC account without @ntu.edu.tw),then click "Save".
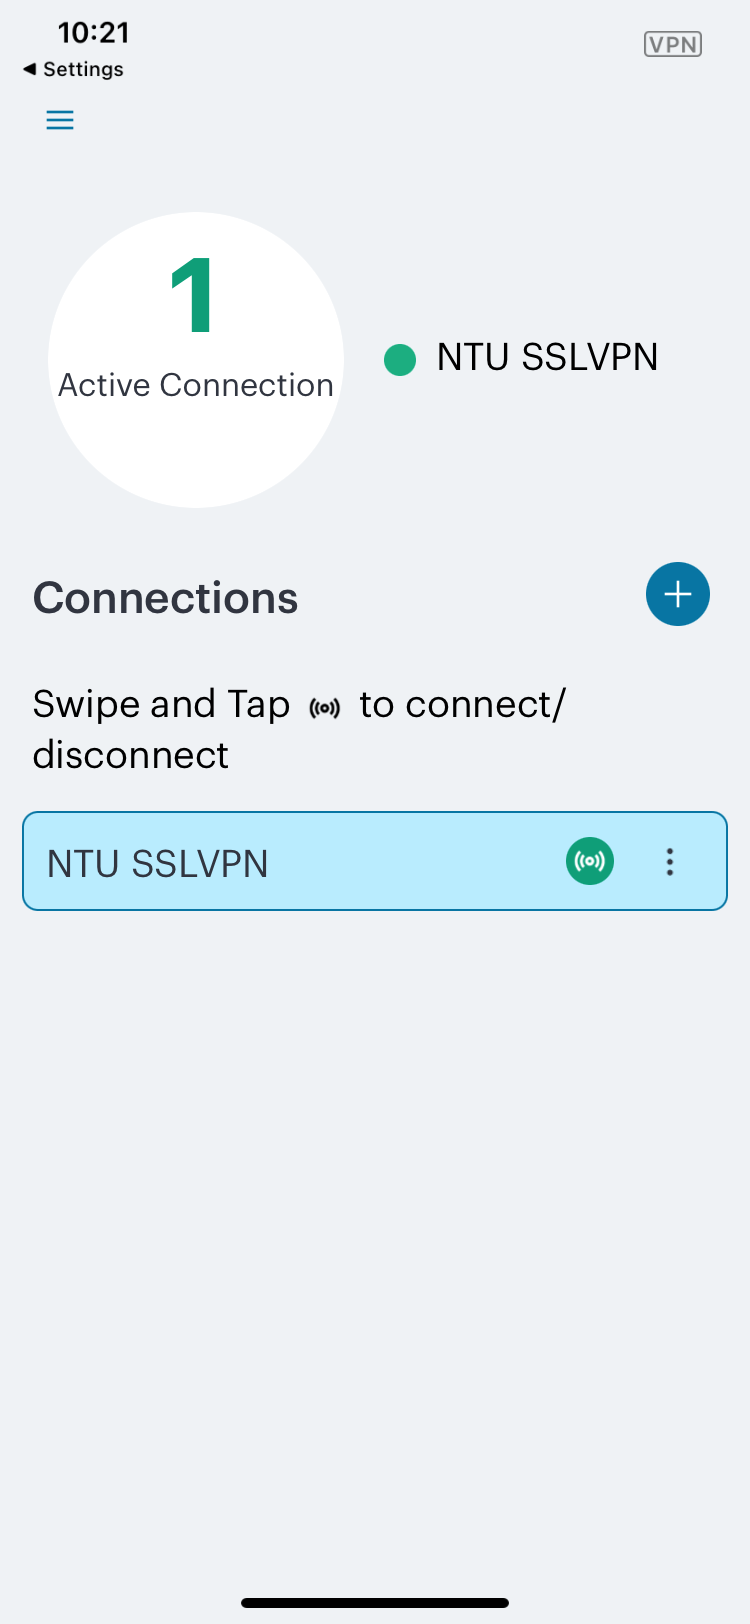
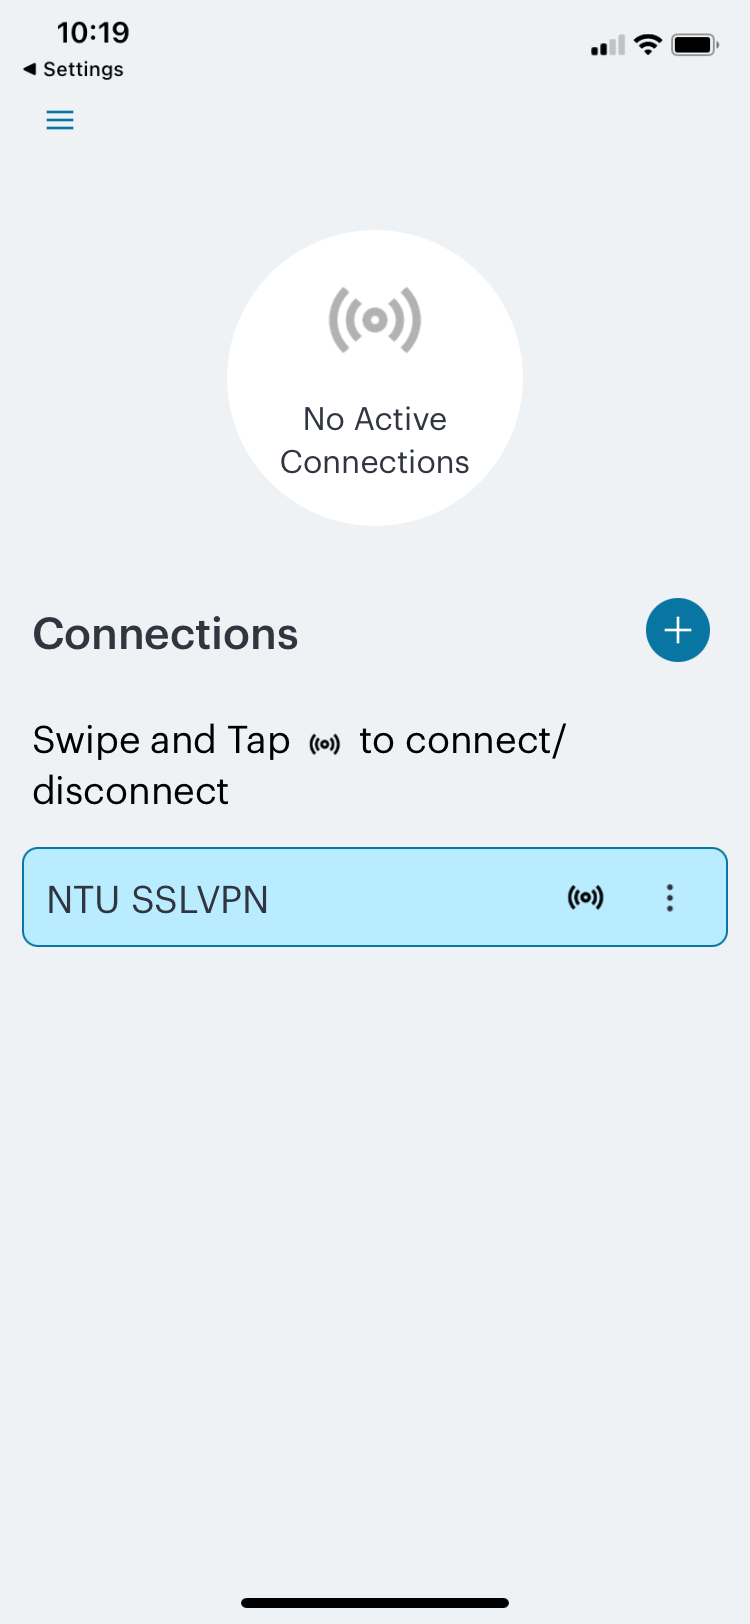
- Click "Connect" to establish NTU SSL VPN connection:
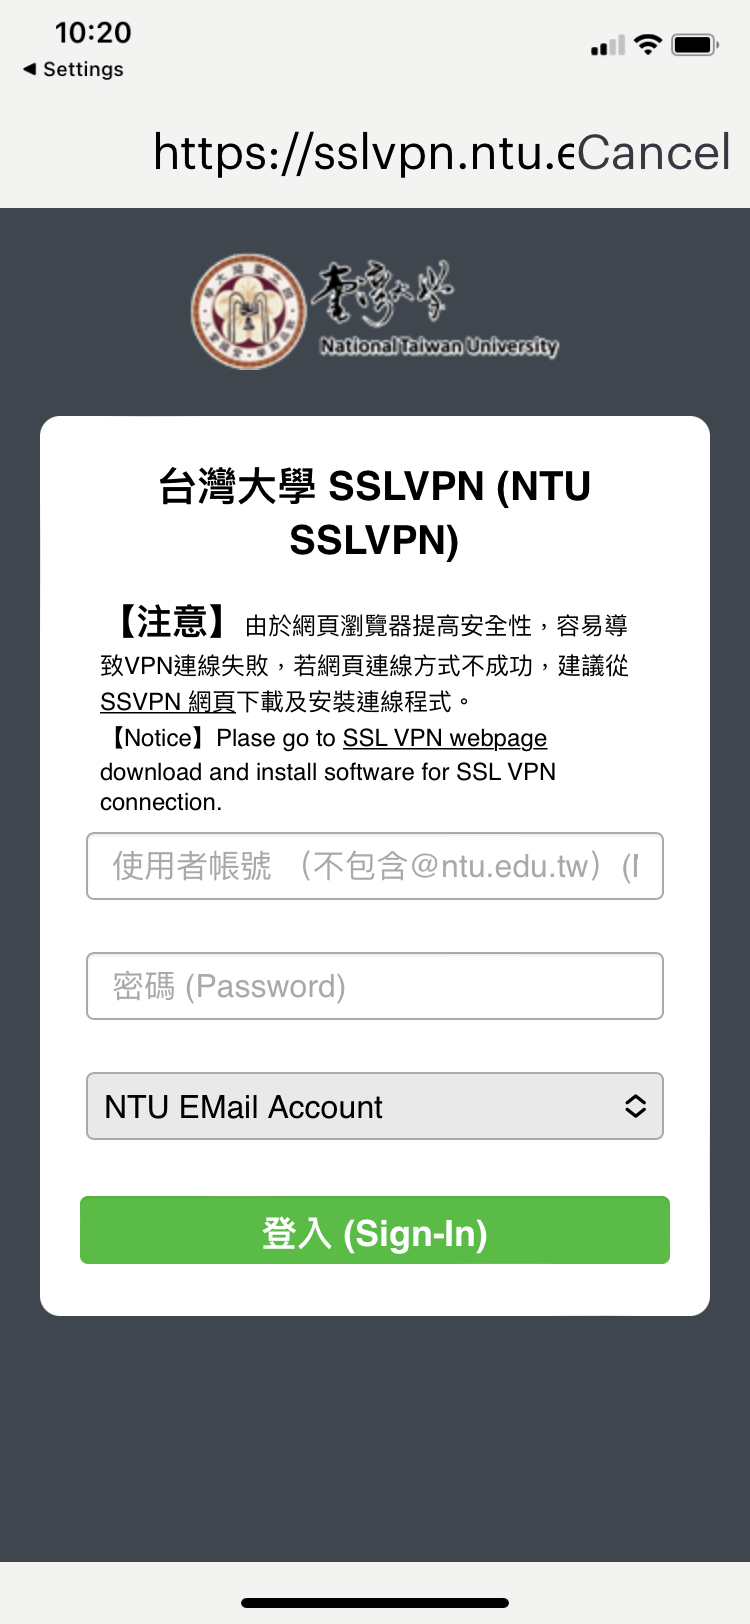
- On Login screen, enter User Name and password, then enter「登入(Sign-In)」.
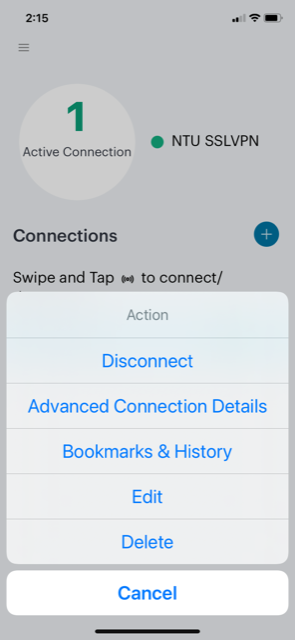
- After login successfully, the connection icon will be green. Press “Disconnect” to end NTU SSL VPN.